There is a certain charm to putting up abstract paintings around your house. It definitely lends an air of sophistication and makes the house feel more complete and stylish. Plus, it can be a great way to decorate the walls in a contrasting or matching color scheme to the room!
But of course, how many of us actually manage find the right abstract in the right budget? So our walls stay empty. But it doesn’t have to be that way! With these 3 easy steps you can DIY! You can make a neat abstract painting on canvas with an irresistible touch of vintage.
Step 1: Get your canvas
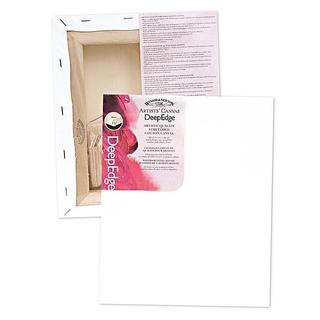
Buy a canvas. With abstracts, bigger most definitely is better! But do remember to check the size of your wall because framing and mounting will add a few inches at the very least!
Step 2: Choose your colors
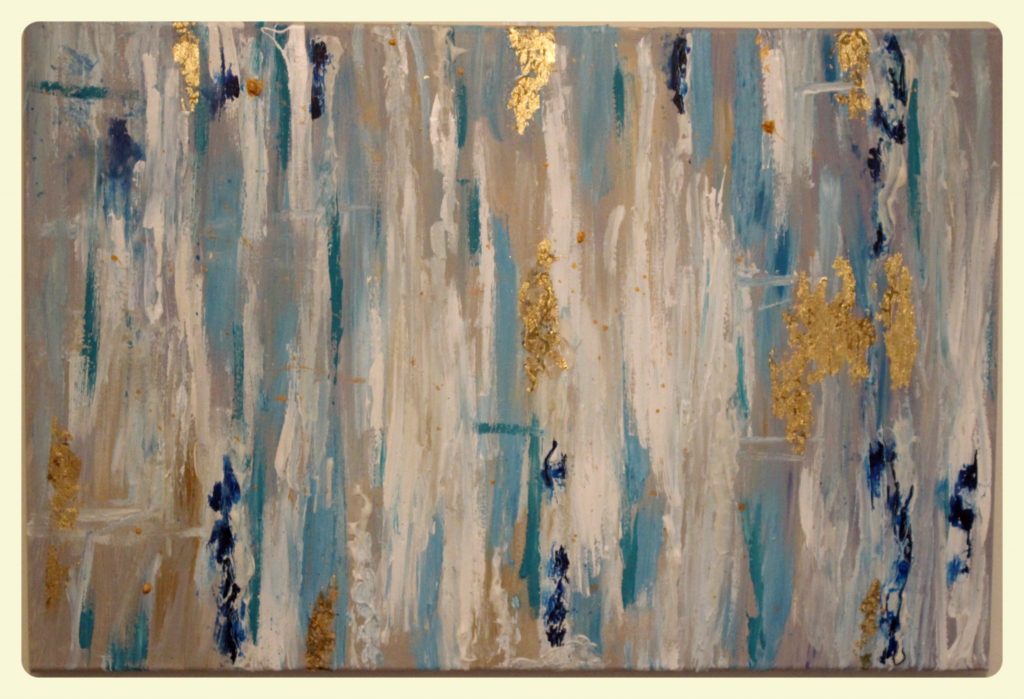
My drawing room is beige, turquoise and gold so I opted for turquoise, deep blue and titanium white. You can purchase tubes of acrylic paint at varying prices (depending on quality) at any local art store. I added hints of pearl and raw sienna in the very background but that’s totally optional.
So squeeze out a bit of each of your chosen colors into a plastic palette (or plate), take a nice big square brush and began to apply the paint in strokes across the canvas. Make vertical stripes, horizontal stripes, diagonal stripes, whatever suits your mood! You can even splatter some color for added effect! Just be sure to spread the colors out so they contrast and aren’t concentrated in any one portion of the canvas.
Optional hint: You can purchase Gesso or Molding Paste to mix with your colors and apply on the canvas with a palette knife if you want that extra textured look.
Step 3: Add some gold leafing
Gold leafing is an old and easy art. You can purchase gold leafing supplies at virtually any art store. Each packet of gold foil is normally accompanied by an adhesive and a sealer. You apply the adhesive in random places on your canvas and let it dry for five to ten minutes till it goes from liquid-y to sticky (don’t leave any bubbles floating around when you apply!). Once it’s sticky take your gold foil and break it into pieces (careful, it wants to stick to your finger!) and apply it onto the adhesive. Brush it lightly with your finger to make sure it adheres and to cast off any pieces that haven’t adhered. Then use the sealer to paint over the foil-ed parts to make sure the color doesn’t fade. And there you have it! A vintage touch!
Here’s a quick look at the whole process in one go:
Have fun decorating! and do let me know how your abstracts turned out!


You made it look and seem so simple.. I’ll definitely give this a shot with a palette knife.. 😀