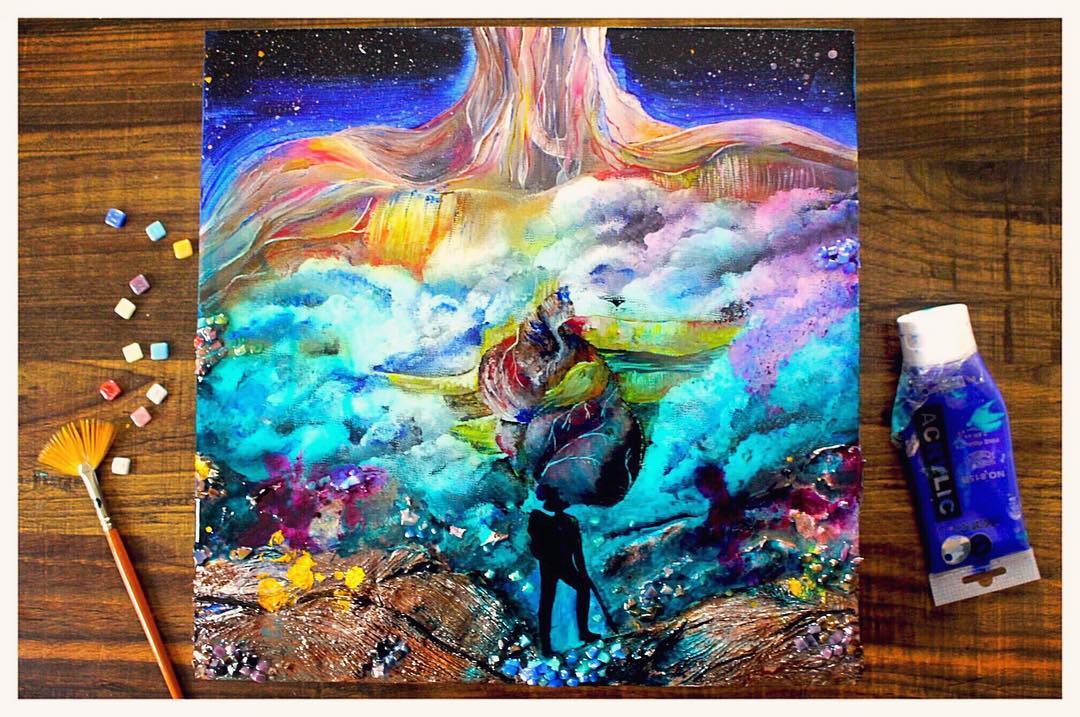
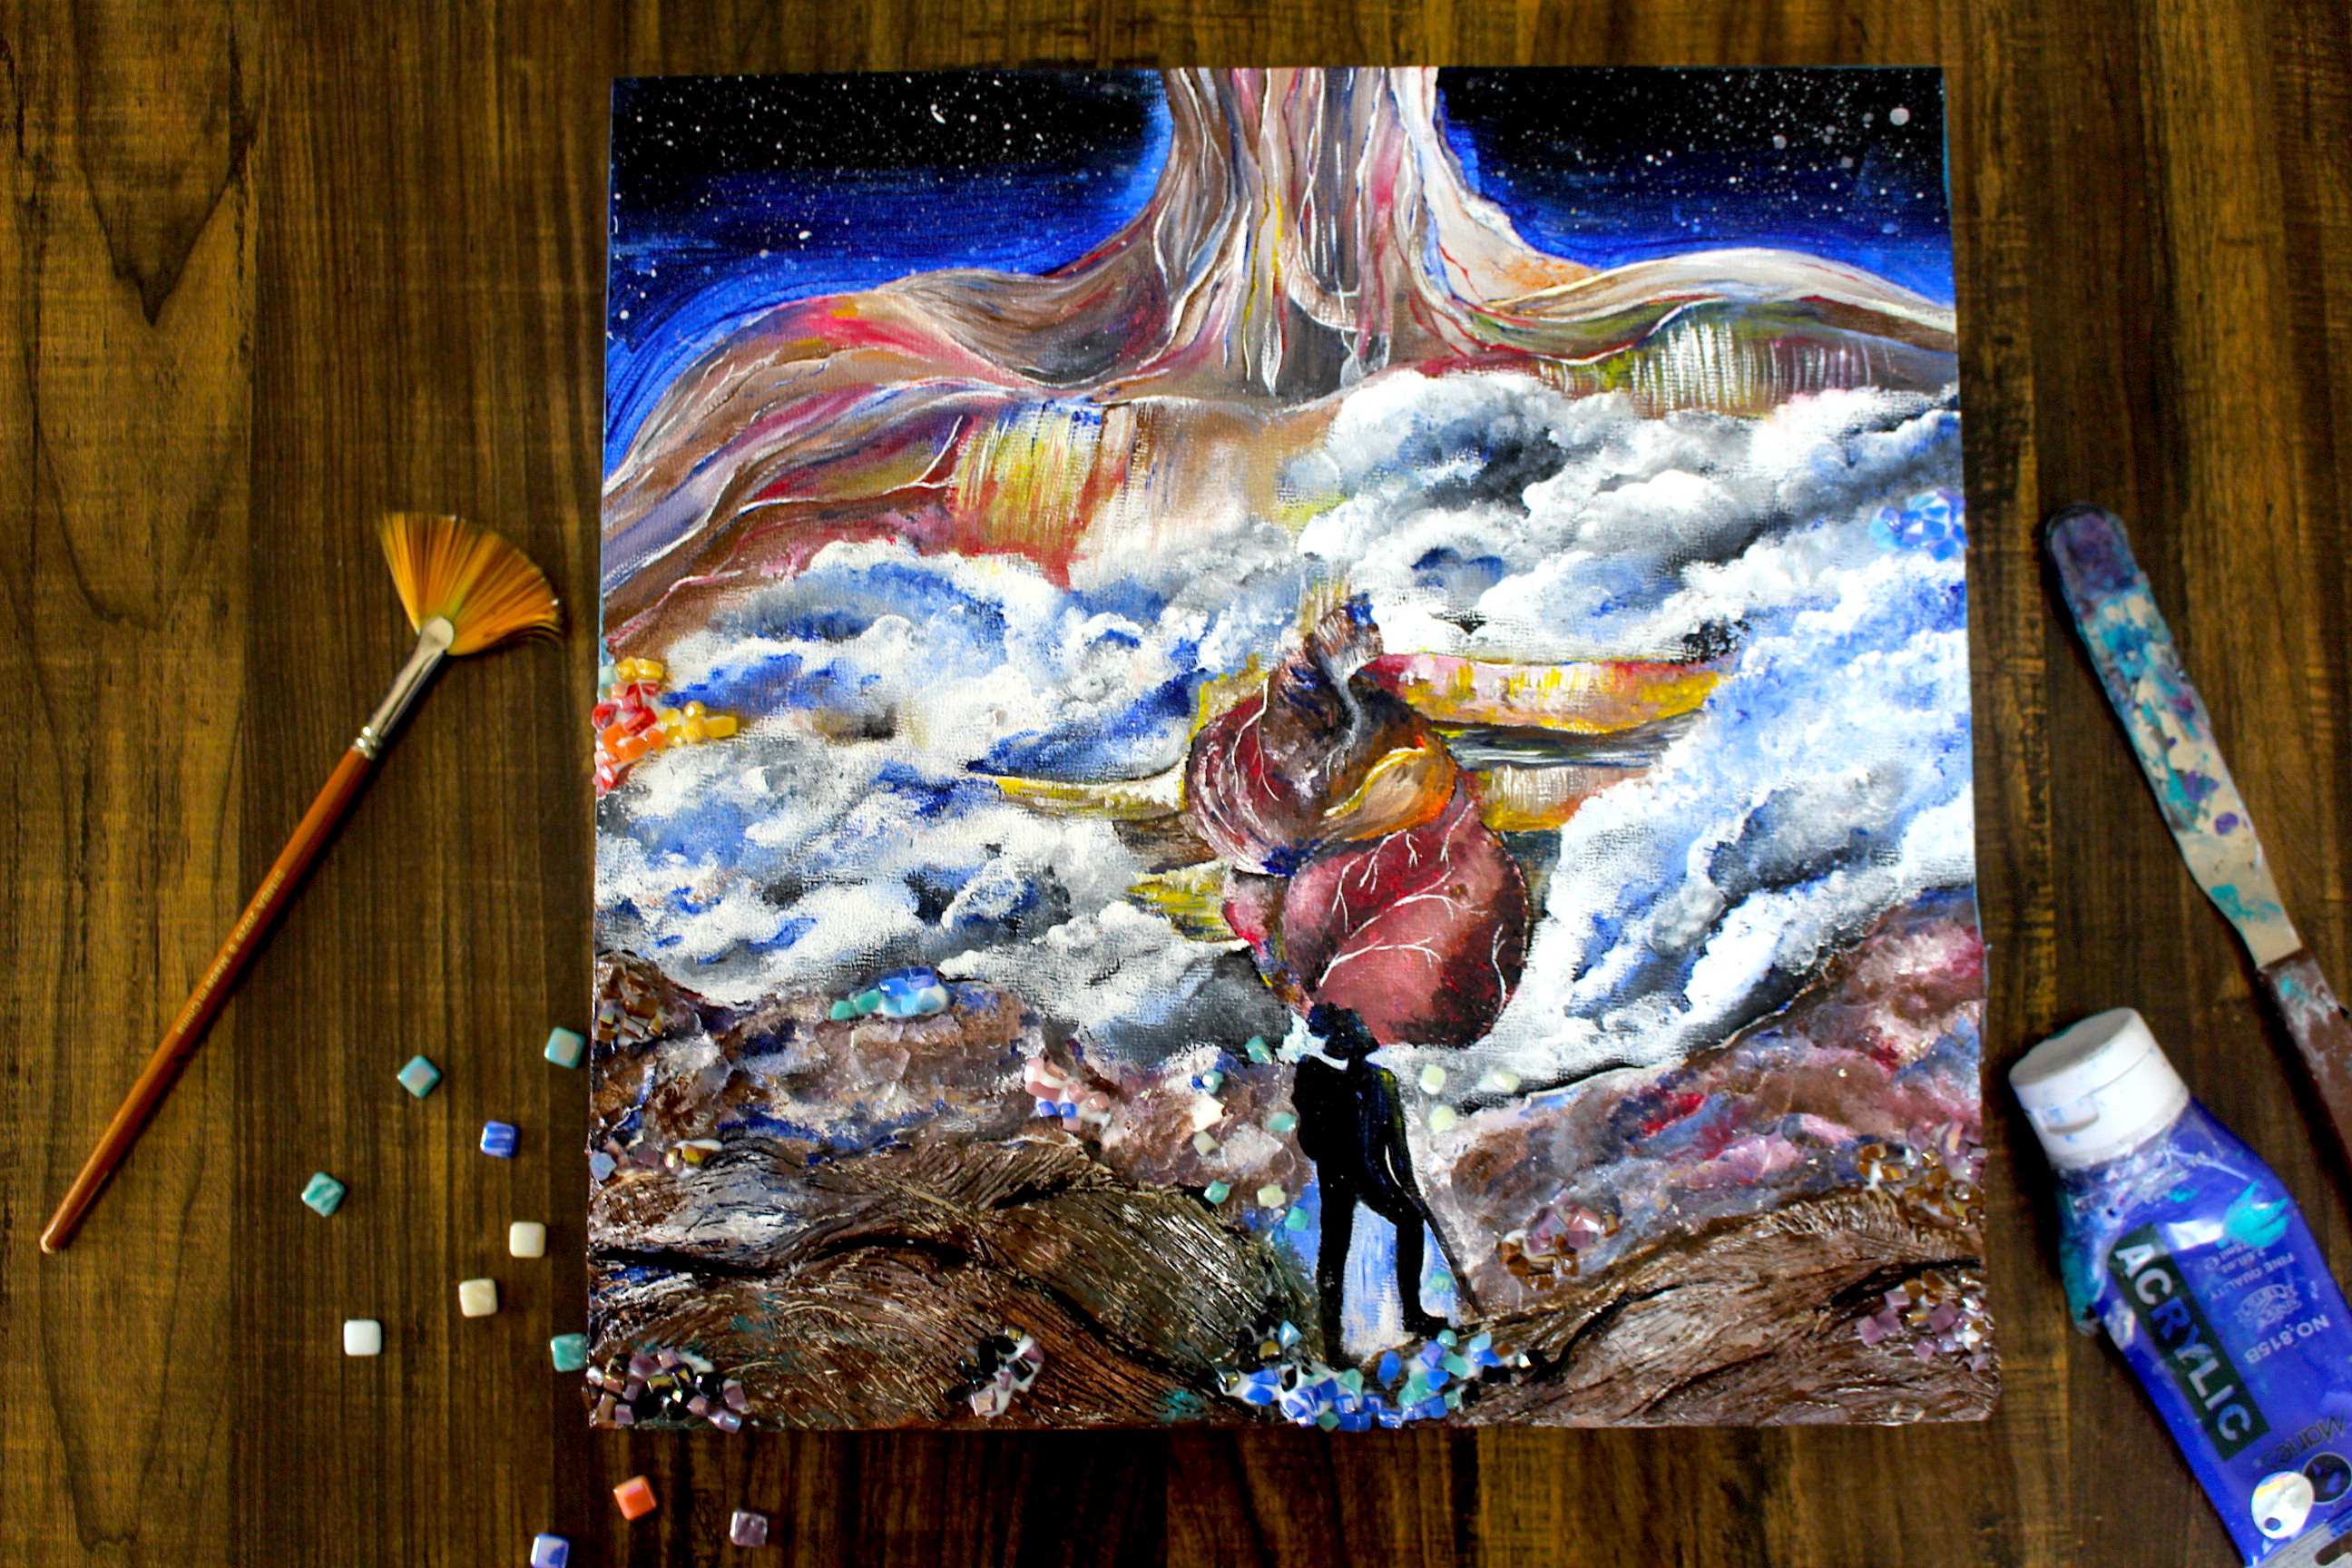
I’ve spoken earlier about what drew me to resin. In short trying to create a snowglobe of a painting. I feel I achieved that effect with this painting:
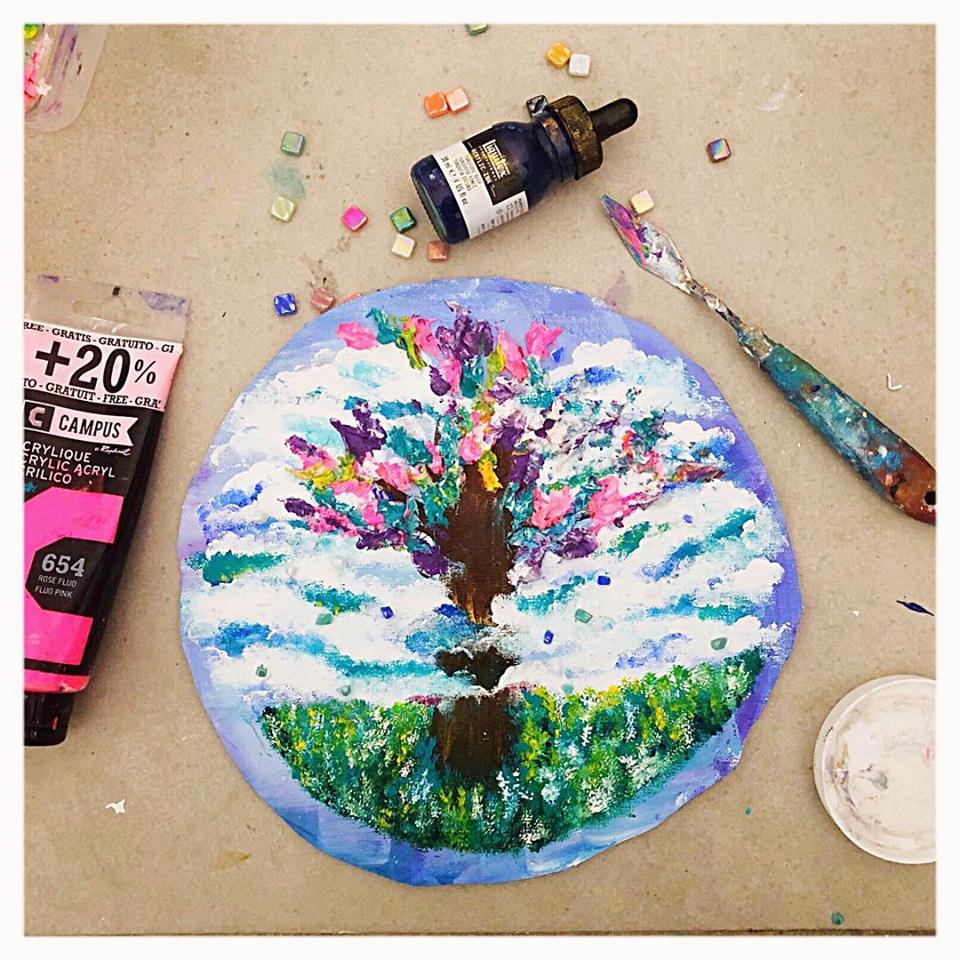
But there’s still lots I have to work on to perfect this idea. For example, while still pretty, the following painting didn’t turn out as I had imagined:
How should I put it? I’m essentially trying to capture a daydream.
The way I created these was in layers. So first we have the actual paint on canvas. Once that dries I add bits of texture using various pastes. And ultimately I layer clay on top, in a much more subtle way than the original Iridescent Alloys. The whole thing is then sprinkled with iridescent stones. Once all these layers are dry, I mix my resin and pour it ontop of the painting. The first pour is clear resin, followed by acrylic inks. The acrylic inks are manipulated to my satisfaction and then another layer of resin poured on top. So what we end up seeing is layers of paint and ink and texture trapped between resin. A painting snowglobe!
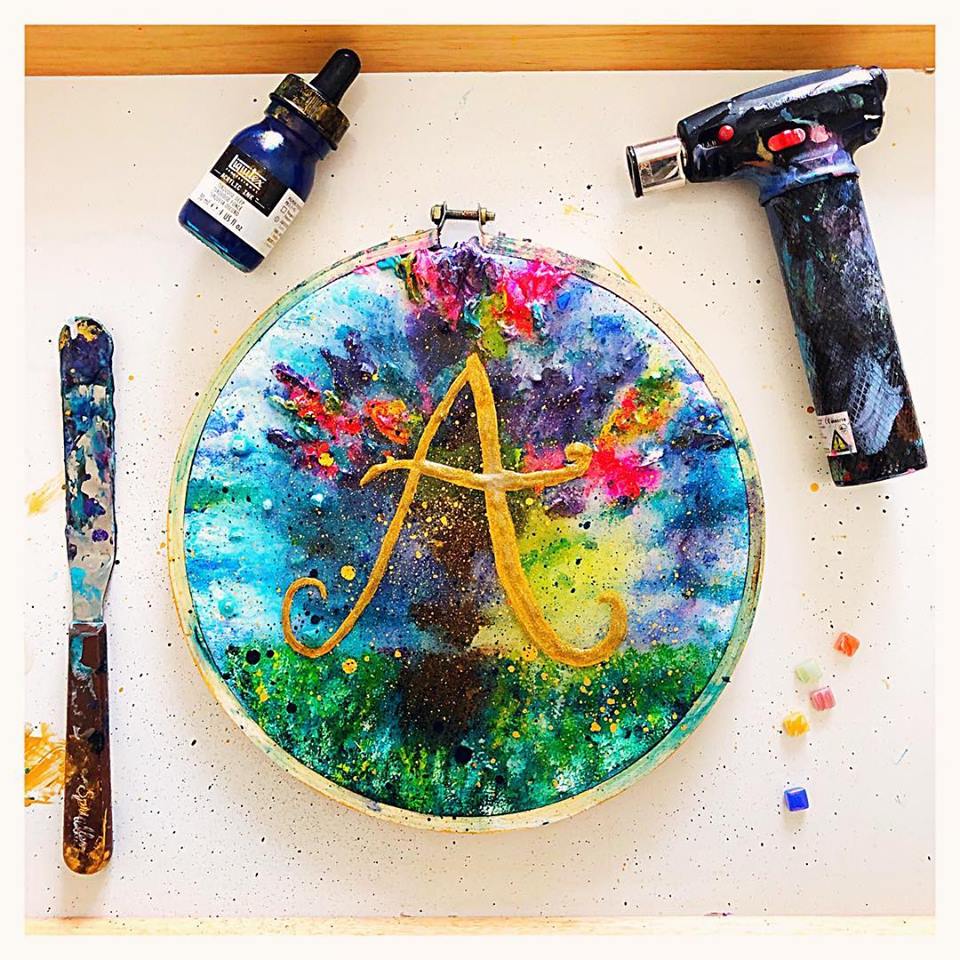
So there is this avenue I’m exploring, but also, I wanted to create something a bit whimsical. So I took embroidery hoops and unstretched canvas to experiment with. I learn the hard way that I can’t pour resin on it, as the canvas isn’t tight enough in the hoop. But I can still create textured paintings.
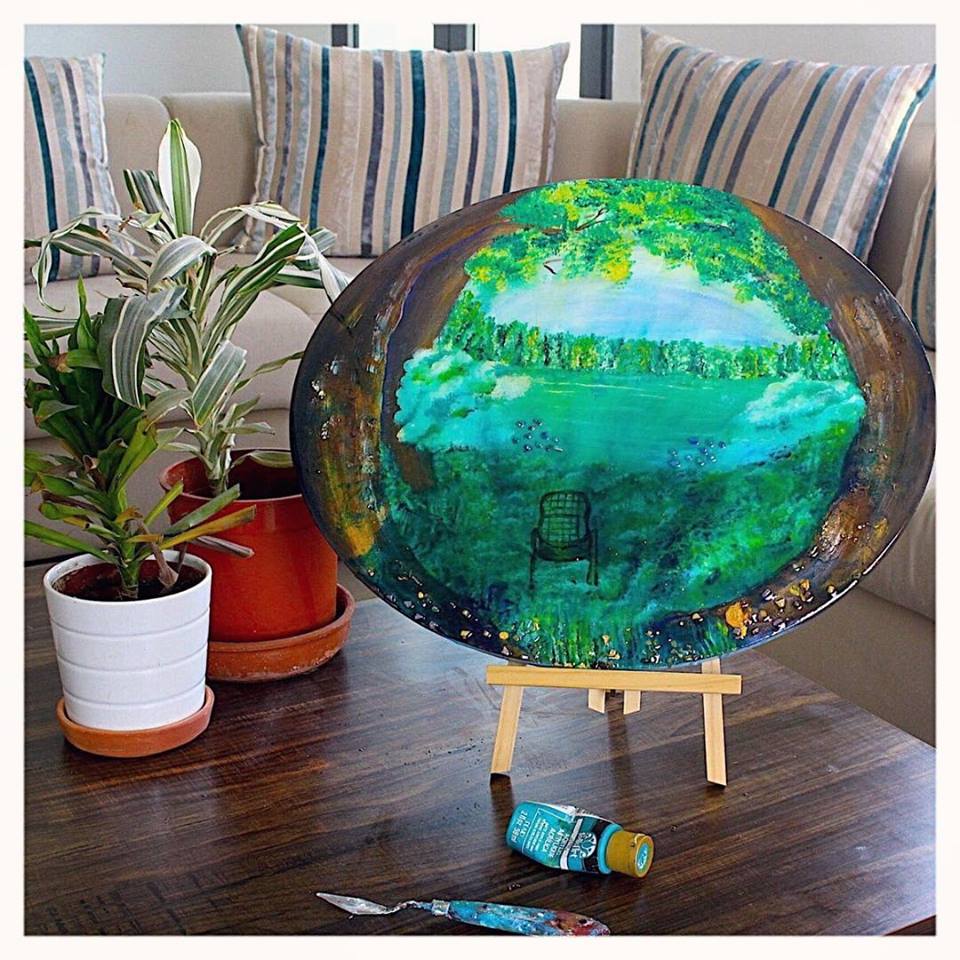
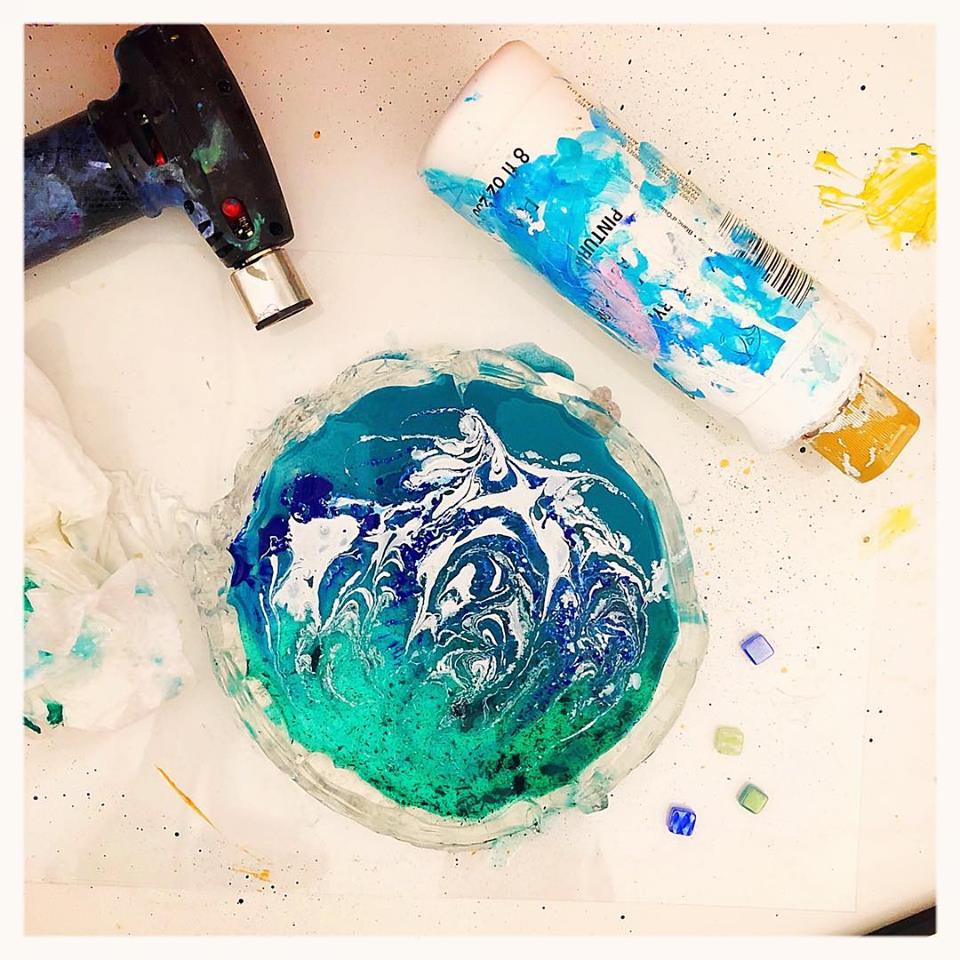
at this point I began to become acquainted with the dual states of resin. The impossible to control, fluid state and the impossible to alter hardened state. And I realized that people use resin to create actual molds and pour alcohol inks to create little paperweights and the like. A quick survey of the art store showed me that the available molds are very basic shapes. The question arose, what can I do to create a canvas out of resin? What can I do to make whatever shape I like?
The answer was in the hardware and plumbing shops on the dingier streets of Jeddah. The answer was silicone tubing. I got silicone tubing (and the first time had to improvise because I forgot the gun, and had to go back to get that later). Eventually with all the apparatus available (in a well ventilated room, lol, this stuff stank!) I created my first boundary and poured resin. The first two tries were a combination of successful and unsuccessful. By that I mean that the first try was a flop where I learned a lot. The second try was a success on which my kids dropped stuff before it could harden, destroying it! heartbreaking, I know.
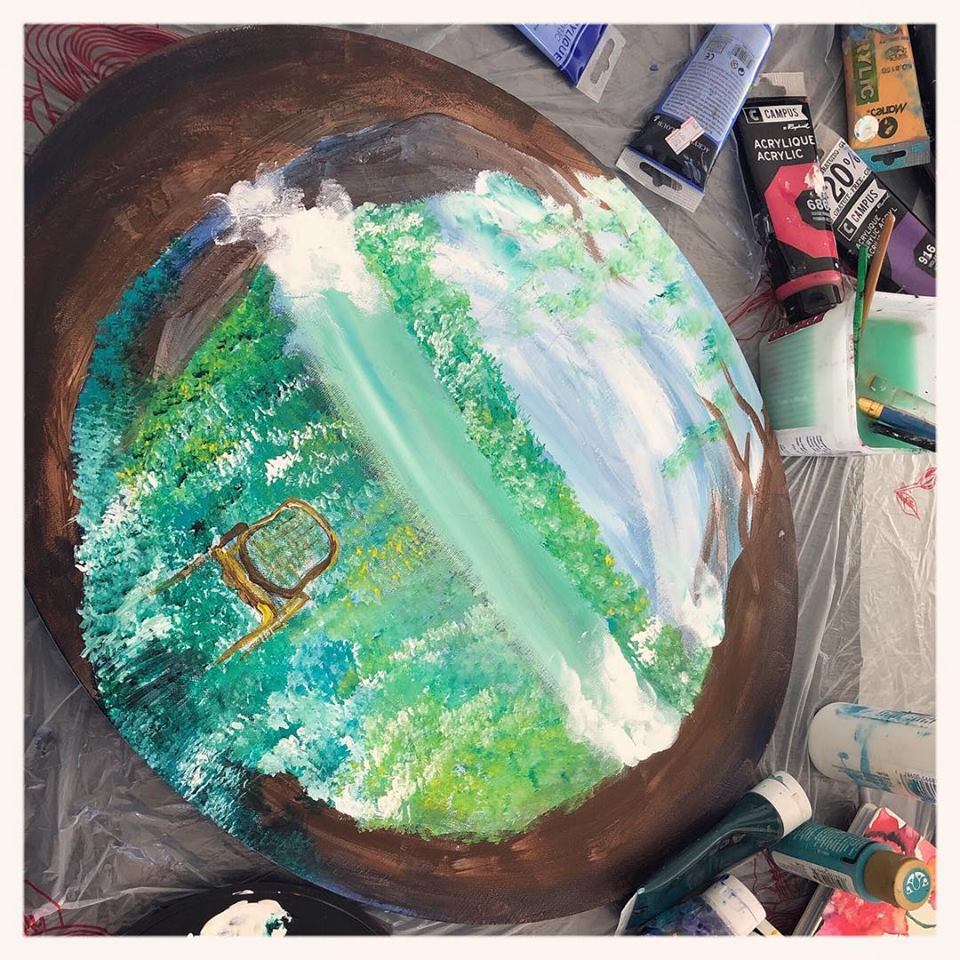
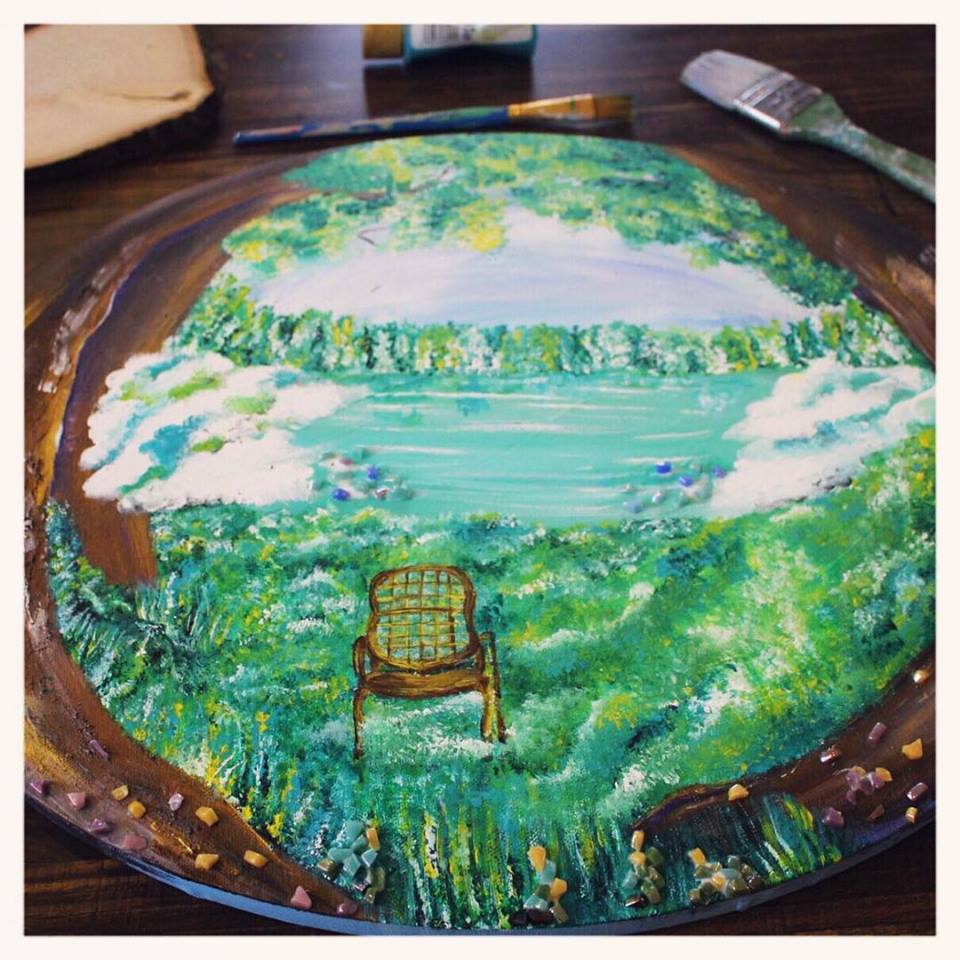
Basically the steps were:
- Create a silicone tubing boundary
- Pour resin
- Wait for it to harden and paint on it like a canvas
- Pour more resin ink and stones!
- Voila!
Here’s a look at the process I’m talking about:
Pingback: Unit 2 Assessment - Kehkashan